Error message

  • User warning: Invalid $info type: must be an array or object. in Database::parseConnectionInfo() (line 1650 of /var/www/html/docroot/includes/database/database.inc).
  • User warning: Invalid $info type: must be an array or object. in Database::parseConnectionInfo() (line 1650 of /var/www/html/docroot/includes/database/database.inc).
  • User warning: Invalid $info type: must be an array or object. in Database::parseConnectionInfo() (line 1650 of /var/www/html/docroot/includes/database/database.inc).
  • User warning: Invalid $info type: must be an array or object. in Database::parseConnectionInfo() (line 1650 of /var/www/html/docroot/includes/database/database.inc).
  • User warning: Invalid $info type: must be an array or object. in Database::parseConnectionInfo() (line 1650 of /var/www/html/docroot/includes/database/database.inc).
  • User warning: Invalid $info type: must be an array or object. in Database::parseConnectionInfo() (line 1650 of /var/www/html/docroot/includes/database/database.inc).
X

30 Wedding-Worthy Flats

Can’t picture yourself wearing six-inch heels on your wedding day? You’re not alone. Here, check out some fabulous flats that are perfect for brides craving comfort — without sacrificing style.


By: Mary Gillen

Enter Slideshow

30 Wedding-Worthy Flats

X

10 Craziest Places Couples Got Married in 2012

Apparently, getting married in a traditional wedding hall is so 2011. Check out 10 of the strangest places couples decided to tie the knot this year.

1. In 23 Different Places 
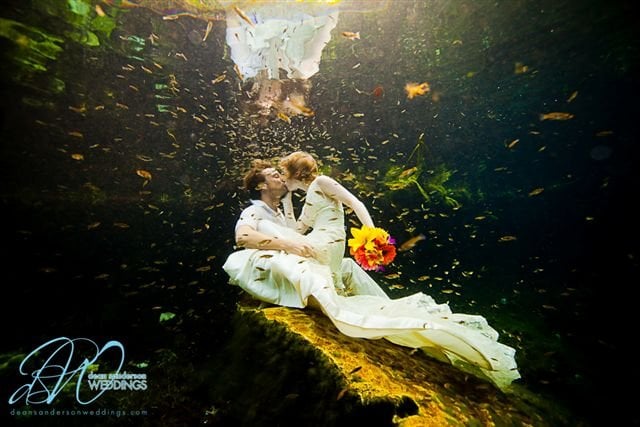
Think about all of the joy, energy and resources that went into planning your wedding. Now, imagine going through that experience not once, but 23 times. It sounds like a fantasy (or a nightmare, depending on who you ask), but this is actually one couple's reality. underwater wedding
2. On Jet Packs
Talk about making a grand entrance! After planning dozens of weddings as a planner, Amanda Volf knew she wanted to do something truly unique for her own nuptials. That's why she and her groom, Grant Engler, rented $90,000 water-powered jet packs to fly into their Newport Beach wedding.jetpack wedding

Rustic Elegance: Nikki & Corey in Indianapolis, IN

Our wedding on September 2nd was an amazing party; we were thrilled to celebrate the most important day of our lives with 140 people we love, but mostly, with each other. Throughout the planning process, we strived to not only create an event that would reflect both of our personalities, but also prepare ourselves for marriage. Check out some of our favorite moments and photos below!

Pre-Ceremony

I woke up in my bridal suite at a downtown hotel around 8:02 a.m. (I feel that even numerals bring me good luck). My mom and sister treated everyone to bagels, mimosa essentials and coffee before we headed to the hair salon. Getting ready was fun, yet terrifying: This was it!
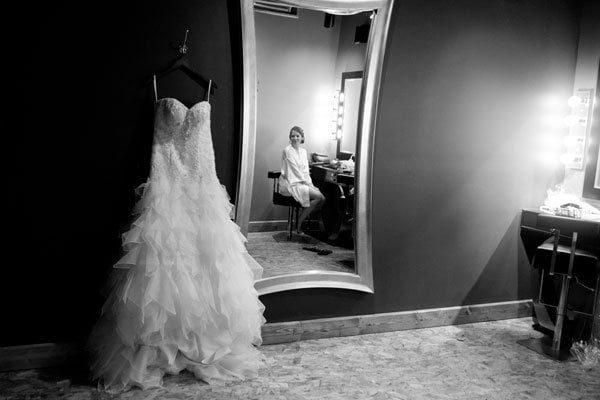
getting ready for wedding

I had to accept that it was going to rain for most of the day, which made matters more stressful. I originally decided to wear a half-up, half-down hairstyle, but was forced to switch to an updo, thanks to the downpour. Do prepare an inspiration board with back-up hairstyles just in case you're faced with the same dilemma, like I did. I would have felt prettier with part of my hair down, but I embraced the more classic, formal look.
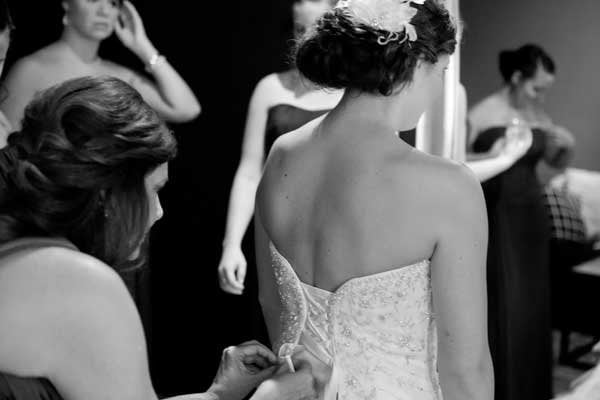
getting ready for wedding

December 13th

Photo Credit: Pear Studios

Tip of the Day: Dealing with post-wedding blues? Stay focused on the positives and don't let your post-wedding bliss wear off right away, or your groom's feelings could be hurt. When you feel yourself slipping into a funk, break out your collection of engagement and wedding cards that you received from loved ones, and read through their messages of congratulations. That should cheer you up! Technically, you're considered to be a newlywed for up to five years after the wedding, so plan a romantic surprise for your sweetie and bliss out together.

Plus, check out more Ways to Beat Post-Wedding Blues.

X

How to Reuse Wedding Items as Holiday Décor

Before you toss out all of your wine bottles, corks, and mason jars, try these quick tricks that can turn those items (and more!) into festive holiday decorations.

By: Kristen Klein

Enter Slideshow
  • Snow-Covered Wine Bottles

    Snow-Covered Wine Bottles

    This beautiful wintry centerpiece is a cinch to create.

    Supplies:
    Krylon white flat spray paint
    Elmer's Glue-All
    Water
    Foam brush
    Epsom salt
    Clear sealer spray (I used Krylon Glitter Blast Clear Sealer)
    Silver and white branches from Michaels
    Silver tray or charger (you can find inexpensive ones at Michaels or a dollar store)

    Directions:
    1. Remove the labels and foil from your bottles.
    2. Spray each with Krylon flat white spray paint (if using dark bottles, you may need to apply 2-3 coats). Let dry for 24 hours.
    3. In a small bowl, mix together a solution of equal parts Elmer's Glue-All and water.
    4. Using a foam brush, coat a bottle with the glue solution.
    5. Roll in Epsom salt.
    6. Once dry, seal with a clear sealer spray. This will help prevent flaking.
    7. Add some silver and white branches, and arrange on a silver platter. Decorate with silver ornaments, if desired.

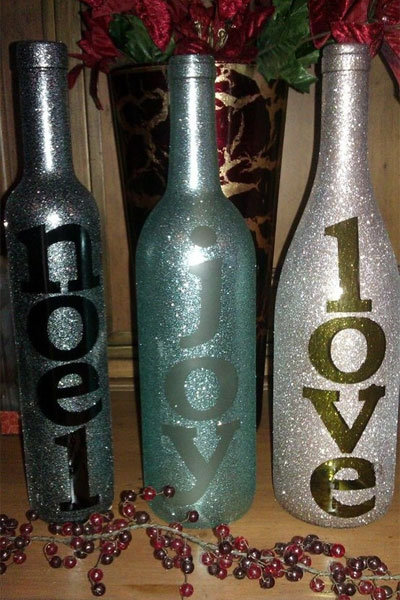
  • Glitter Wine Bottles

    Glitter Wine Bottles

    Craft a beautiful display for your mantle or entry-table from used wine bottles.

    Supplies:
    3 wine bottles (any shape or size)
    Sandpaper
    Krylon Glitter Blast spray in various colors
    Alphabetical letters from Michaels

    Directions:
    1. Remove the labels and foil from your wine bottles.
    2. To help the glitter spray adhere to the glass, lightly go over the surface with fine-grit sandpaper.
    3. Spray the glitter onto the bottles.
    4. Let dry for at least 20 minutes; apply a second coat. Then let dry for 24 hours.
    5. Apply the letter stickers to spell out words/phrases of your choosing.

    Photo: User-submitted via Pinterest

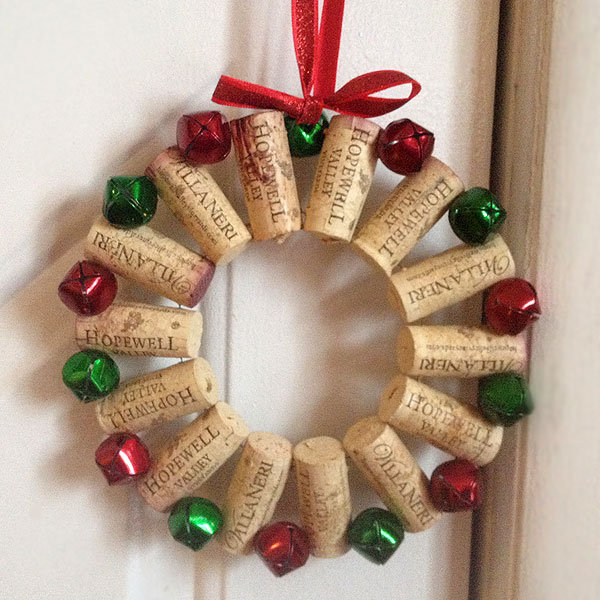
  • Wine Cork Wreath

    Wine Cork Wreath

    Use your corks to create a mini wreath that’s perfect for hanging from your front doorknob.

    Supplies:
    14 corks
    14 small bells
    Floral wire
    Drill 
    Ribbon
    Hot glue gun (optional)

    Directions:
    1. Drill small holes (just big enough to fit your floral wire) about ¼ of an inch from the top and the bottom of each cork.
    2. Thread a long piece of floral wire through the top hole of each cork, adding a bell between each.
    3. Then, thread a separate piece of wire through the bottom hole of each cork.
    4. Pull the wires together to create a wreath shape, and twist the wires to close, hiding them in the back. Tip: If your bells aren’t hanging the way you’d like, flip the wreath over, arrange the bells as desired, and apply an small dot of hot glue to connect the edge of each bell to the cork.
    5. Thread a ribbon through the top of the wreath, tie a bow, and knot the other end.

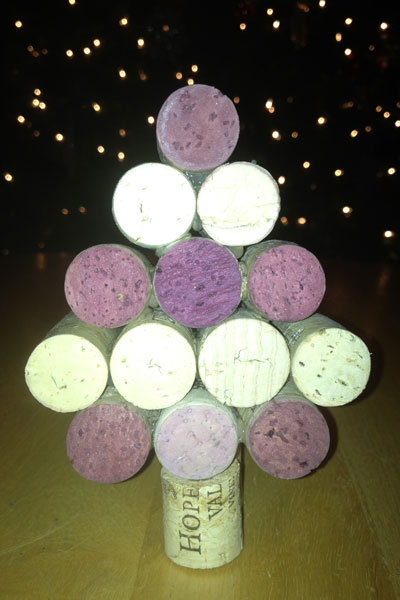
  • Wine Cork Tree

    Wine Cork Tree

    Another fun way to use corks is to create mini trees.

    Supplies:
    7 corks, stained red
    7 unstained corks
    Hot glue gun
    Razor blade

    Directions:
    1. Glue together each row of corks.
    2. Stack on top of each other and attach with glue.
    3. For the base, cut one cork into two even halves using a razor blade. Glue the halves together with one in front of the other to create a sturdy base.

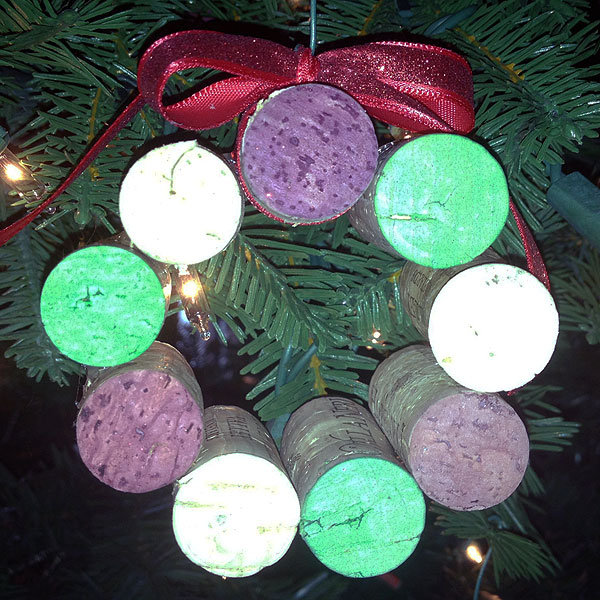
  • Wine Cork Ornament

    Wine Cork Ornament

    Before your wedding, ask your venue to set aside all of the corks used that evening.

    Supplies: 
    3 corks, stained red
    6 unstained corks
    Elmer's Glue-All
    Green food coloring
    Water
    Small bowl
    Foam brush
    Hot glue gun
    Ribbon
    Ornament hook

    Directions:
    1. Take 3 of the unstained corks and dye the tips green; I used a solution of Elmer’s Glue-All, water, and food coloring, applied with a foam brush. Wipe off any excess and let dry. Add a second coat if desired.
    2. Tie a ribbon around the cork you’ll want at the top of your mini-wreath, and arrange the others in a circular pattern around it.
    3. Holding the corks steady, apply a thin strip of hot glue between each cork.
    4. Once dry, thread an ornament hook through the ribbon.

    Tip: If you want to try this but don’t have any wine corks, contact a local vineyard and see if they can set aside some corks for you (thanks, Hopewell Valley Vineyards!).

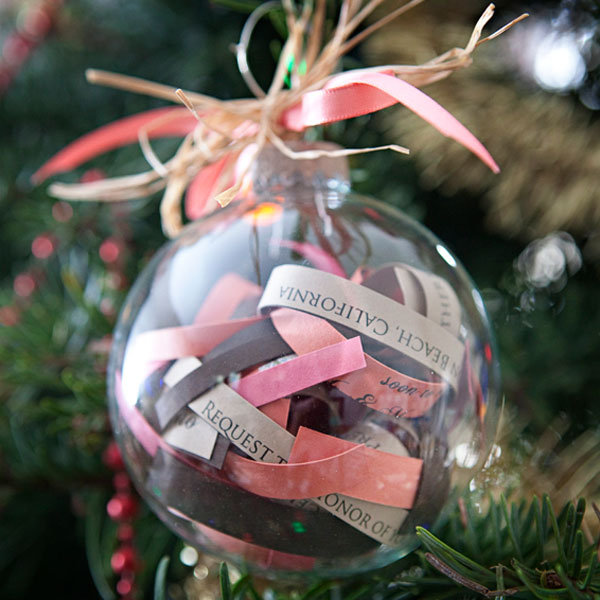
  • Wedding Invitation Ornament

    Wedding Invitation Ornament

    Have a stack of extra wedding invitations sitting around? Turn one into this adorable keepsake ornament! Get the tutorial here.

  • Wedding Bouquet Ornament

    Wedding Bouquet Ornament

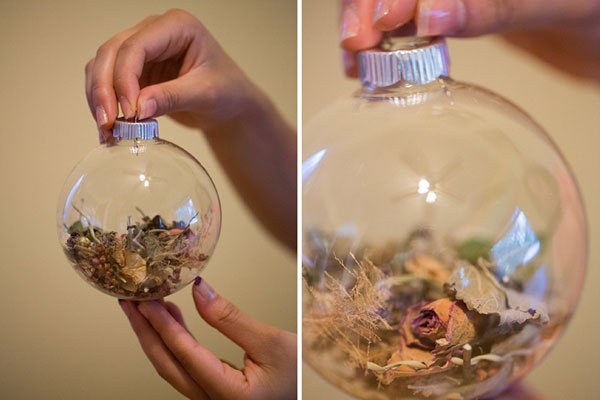
    We’re obsessed with this incredibly creative way to preserve your bouquet. After you’ve dried your bouquet, cut it up and put the flower pieces in a clear glass ornament! Get the full tutorial here.

    Photo Credit: Photography by Susie

  • Snowman Tea Lights

    Snowman Tea Lights

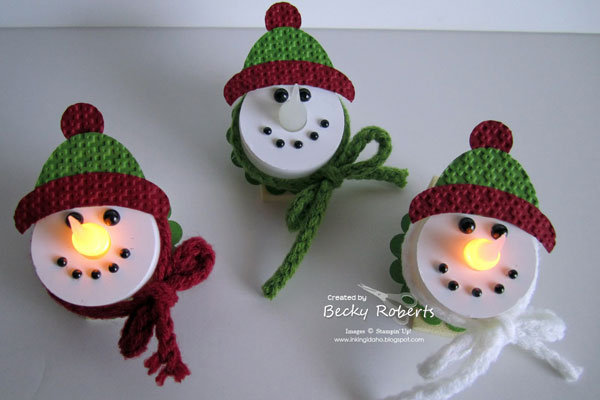
    Turn your battery-operated tea lights into these adorable little snowmen with a few steps from Inking Idaho.

  • Peppermint Candles

    Peppermint Candles

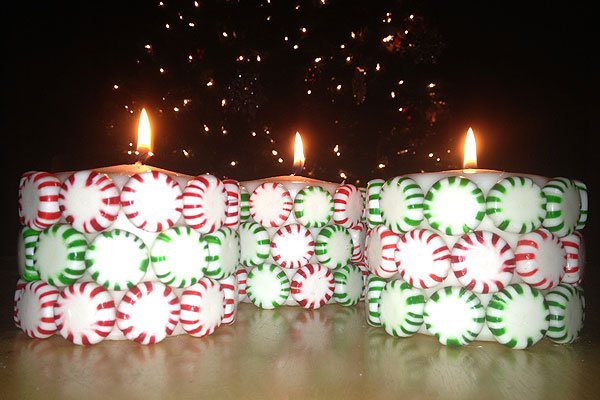
    Have some pillar candles leftover from the wedding? Using a hot glue gun, add red and green peppermint candies in a pattern of your choosing. Use the candles to sweeten up your holiday dessert table.

  • Snowy Mason Jar Candles

    Snowy Mason Jar Candles

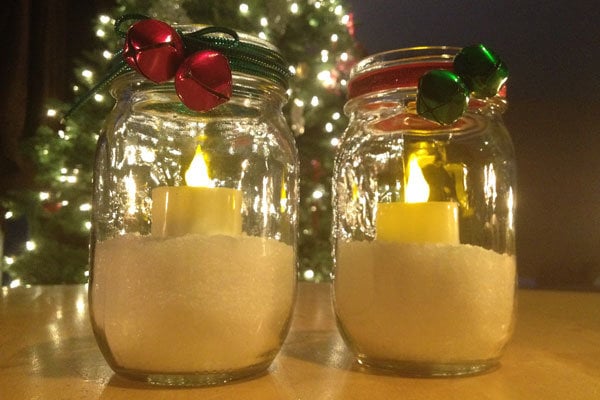
    You can also turn your mason jars into pretty candleholders.

    Supplies:
    Mason jars
    Red ribbon
    Green cord
    Red and green bells
    Floral wire
    Hot glue gun
    Epsom salt
    Battery-operated tea light candles

    Directions:
    1. Wrap the green cord around the rim of one jar; add two red bells before tying a bow.
    2. On the second jar, attach two green bells to the rim of the jar using floral wire.
    3. Wrap a piece of red ribbon around the rim, hiding the floral wire. Hot glue end ends of the ribbon to the jar.
    4. Fill the base of the jar with Epsom salt.
    5. Add a tea light candle to each, and you’re done!

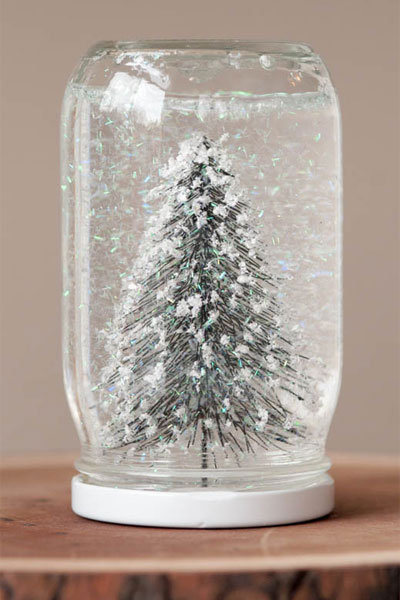
  • Mason Jar Snow Globe

    Mason Jar Snow Globe

    Mason jars are so prevalent in weddings now; but what do you do with all of those jars once the wedding is over? We love this idea from The Sweetest Occasion: turn your jars into adorable snow globes! Get the tutorial here

    Design and styling by Cyd Converse for The Sweetest Occasion/Photo by Alice G. Patterson

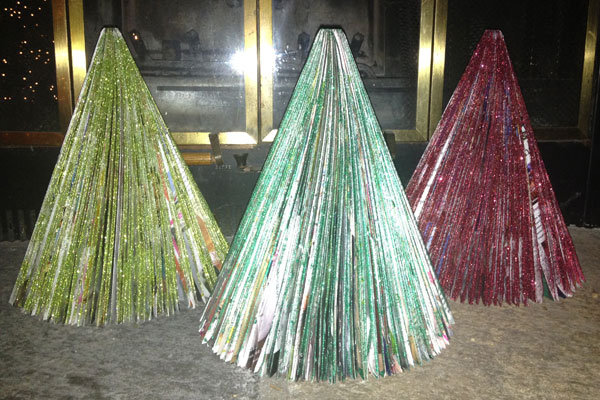
  • Glitter Magazine Trees

    Glitter Magazine Trees

    If you’re like most brides, then you probably amassed a huge collection of Bridal Guide magazines during your planning process. Turn those magazines into festive trees with a few easy steps! Though simple, this project is a little time-consuming, so throw on your favorite Christmas movie while you’re crafting.

    Supplies:
    2-3 magazines (to save time, you can cut one magazine in half using a razor blade to get two trees from one issue).
    Elmer's Glue-All
    Water
    Foam brush
    Small bowl
    Glitter

    Directions:
    1. Fold each page diagonally from the upper-right corner to the magazine’s left seam, making a triangle. (Need a visual? Go here.)
    2. Then, fold that same page over again in the same direction to the seam.
    3. Part of the page will now hang below the magazine; fold the overhanging part up so that it’s even with the bottom of the page.
    4. Once you’ve folded every page, spread the pages to create a tree shape.

    To add glitter:
    1. Mix together a solution of equal parts Elmer’s Glue-All and water.
    2. Push all of the pages back together (so that it’s like you’re holding the magazine, only folded).
    3. Apply your glue solution on edges of the pages with a foam brush.
    4. Sprinkle glitter on top.
    5. Carefully spread the magazine pages back out and let dry.

  • Apothecary Christmas Village

    Apothecary Christmas Village

    If you had a candy buffet at your wedding, then you probably have a bunch of apothecary jars collecting dust in your closet right now. We love the idea of using them to create a mini Christmas village!

    Supplies:
    Apothecary jars
    Epsom salt (found in a drugstore or grocery store near the sports medicine)
    Faux snow-covered trees from Michaels
    Houses and figurines from a dollar store

    Directions:
    1. Fill the bottom of the jar with Epsom salt, which gives a snowy effect.
    2. Arrange your trees, houses, and figurines to your liking inside of the jar.

    Bonus: In the summer, you can use those same apothecary jars to create a beach scene, using sand, shells, and little umbrellas and chairs!

How to Reuse Wedding Items as Holiday Décor

X

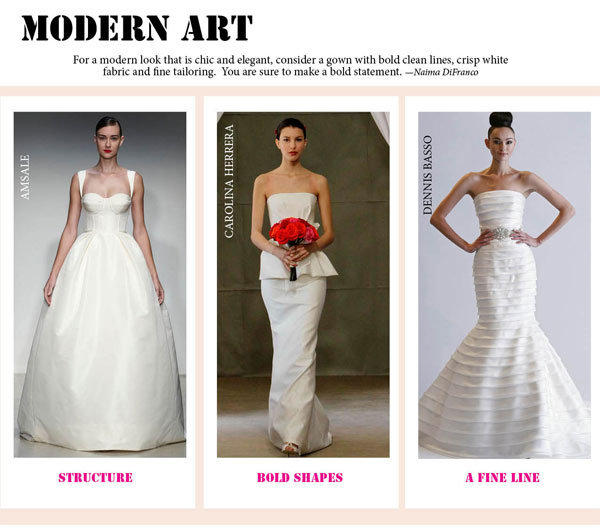
Wedding Style Guide: Modern

You don't always need jewels to make a big statement. Consider a gown with bold clean lines, crisp white fabric and expert tailoring for a chic, modern look. This look pairs well with slicked-back hair and a bold lip. While this style may be lacking in embellishments, the expert tailoring is sure to make this look sharp and bold. This is perfect for a city wedding, a chic downtown fête, or an art gallery. Here a few of our favorite modern wonders, from Amsale, Carolina Herrera, and Dennis Basso.

—Naima DiFranco

December 12th

Photo Credit: Pictilio

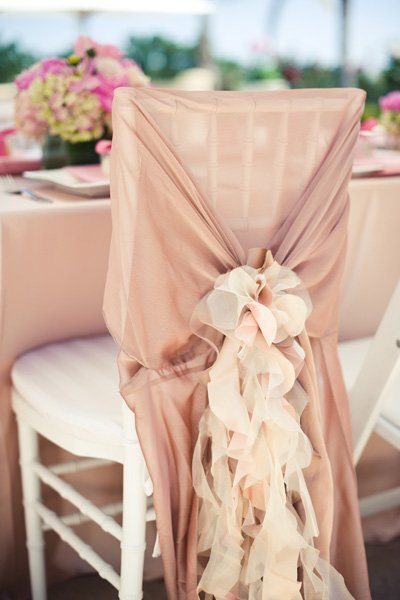
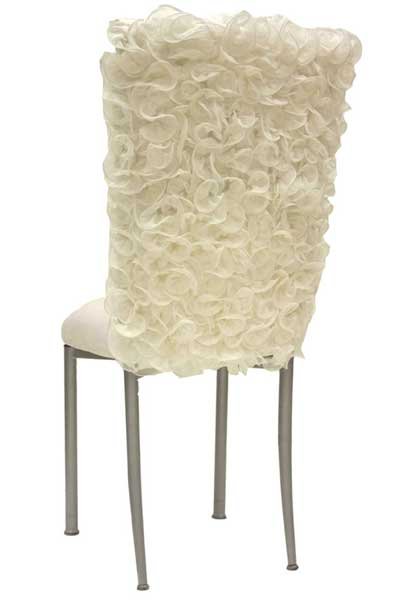
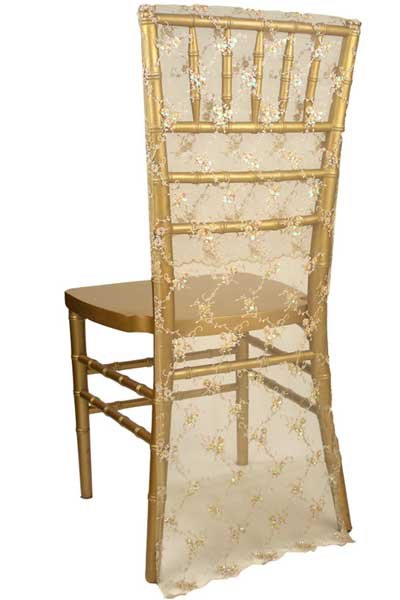
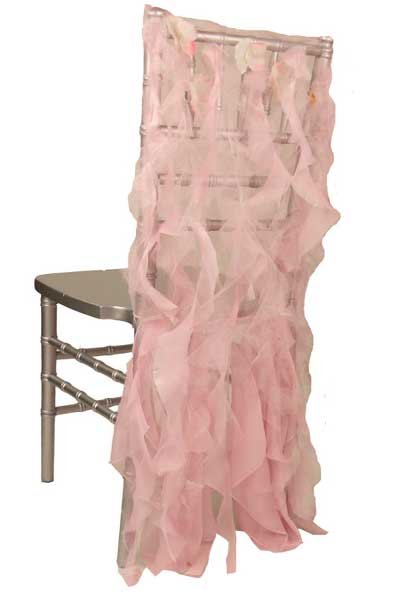
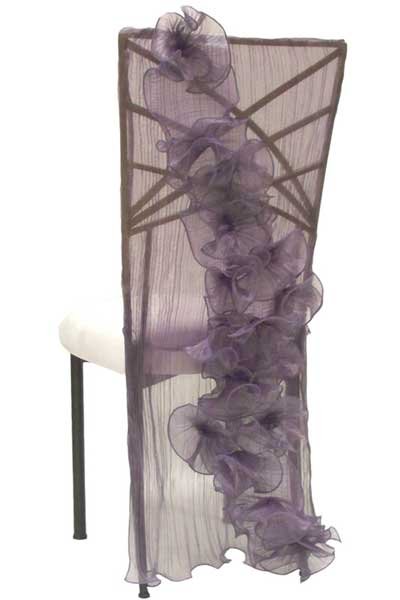
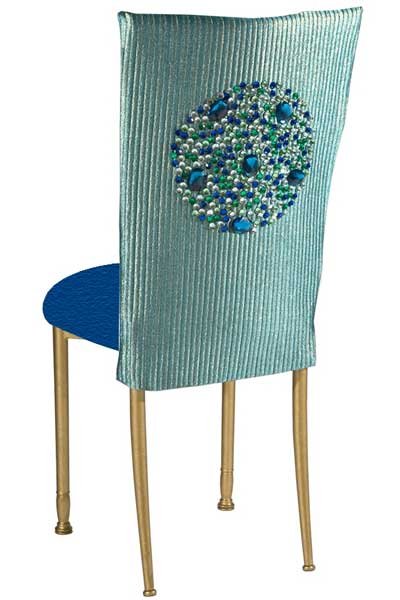
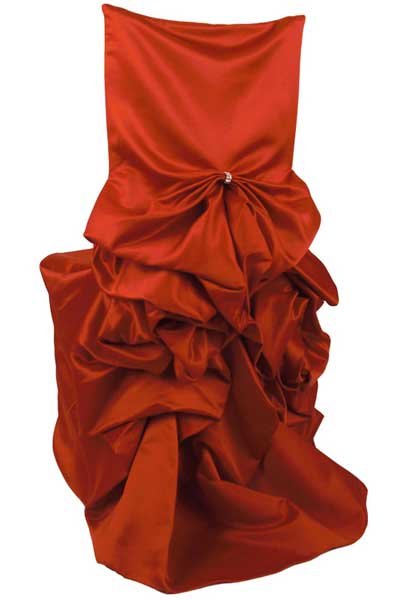
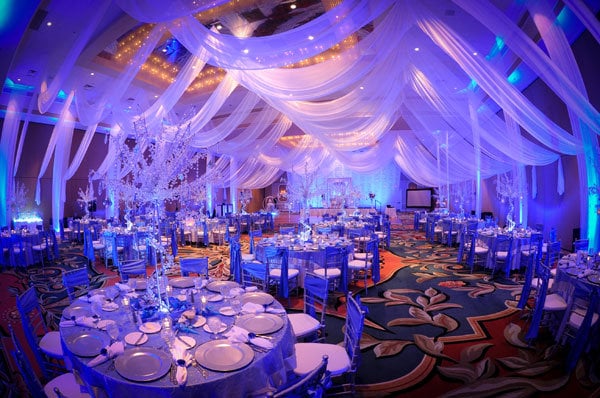
Tip of the Day: Dress up the chairs at your ceremony, reception, or even bridal shower with fabulous covers! Ruffles, ethereal fabrics, and bows are in, and can coordinate with your gown or the theme of your event.

If you prefer to DIY your chair accents, simple hemmed fabric lengths tied around each seat may be easier to make than slip-on covers. Visit your local craft or fabric shop to purchase fabrics in bulk at a discount. Ask a staff member if they can help you select a swatch that best complements the vibe of your party.

Or, check out Wildflower Linens, which has stylish and colorful options that you can purchase:

Plus, check out More Gorgeous Ways to Decorate Your Chairs.

Pages

Subscribe to BridalGuide RSS